DIY Photo Garland

Everyone who knows me knows I love photos, and on top of that, knows I love to decorate my room with photos. I just love looking back on memories and my friends loving seeing the pictures in my room of our adventures together. Normally I have my photos displayed my sticking them onto my wall with some Command strips, 9 Horizontal Photos followed by 6 Vertical Photos, but when I moved to LA I decided it was time for a change, mainly because all of my photos are being displayed back at room in my parents home and I didn't want to go through that all over again.

So I came up with an idea. I kept seeing all of these DIY Garlands all over pinterest and thought, "Hmmm, why not use photos instead of colorful paper?". It made sense, I'd get to add some decor to my boring white walls and I'd get to display some of my favorite photos.
The steps to do this are pretty simple. All you need is scissors (or a paper slicer if you own one), string/ribbon, photos, and washi tape.
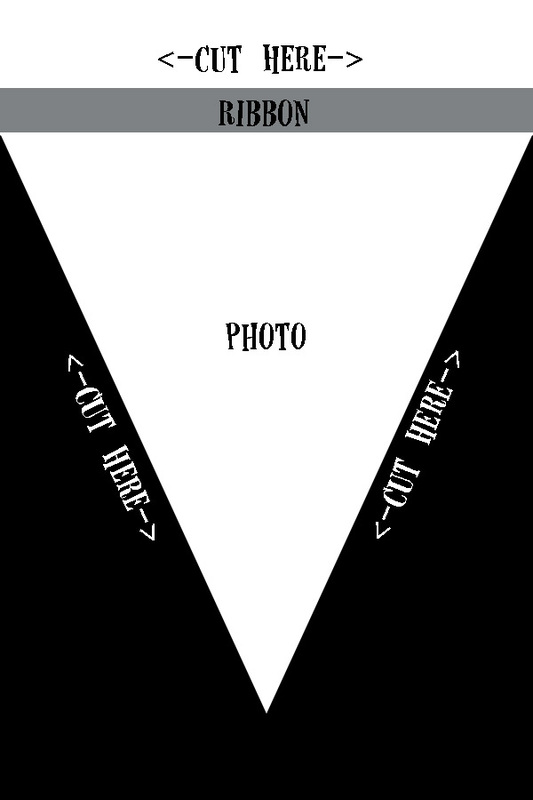
To start out you're going to need to pick out some photos (I ended up using about 25) and print them out (either at home or in store). Because I wanted to make sure all of my photos we're going to be cut to the same size/angle I ended up creating a template and use photo shop to ensure they'd all match.
Once I had my photos printed I cut them out, space them about 2 inches apart on the string, taped the string to the photos with the washi tape (I recommend switching between different colors) and viola I had myself some photo garland!
Make sure you check out my video below for my other fun DIY Room Decor Ideas!